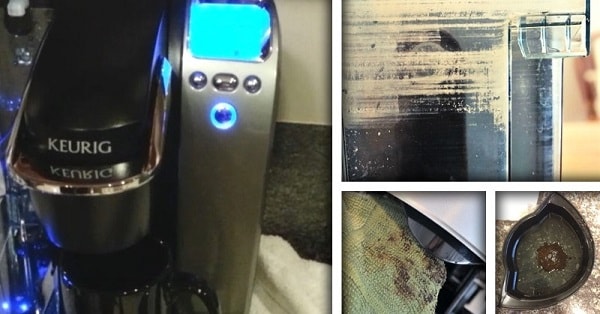
Keurig is one of the common Coffee Maker brands which is well-known among all coffee lovers. Especially it has taken its place as a morning beverage in many of the kitchens, and you won’t be able to start the day without one cup of coffee from it.
With the increased use of the Keurig systems, you will require the need to perform a regular cleaning of the unit. Only the right maintenance will give you a consistent coffee brew, and also in the Best Way.
Clean a Keurig Coffee Maker: User guide
All the machines require some repairing or oiling, to bring back the efficient performance. Similarly, while we are dealing with this Keurig Coffee Maker unit, you may get the unit clogged with a certain period. This clogging will do more damage to your coffee, and ruin your experience entirely.

Therefore it is always better to do some cleaning work and get your Keurig system back in action.
Some of the products needed for the cleaning process are White Vinegar, Water, one clean, dry cloth. That’s it! With these materials, you could get started with the process of Cleaning the Keurig Machine. The steps are given as follows:
- The very first step is to unplug the coffee maker. This is simple, isn’t it? But the most important one.
- Next step is to disassemble all the removable parts, and then wash them. In this step, you have to disassemble the removable parts like the water reservoir, lid, you also have got the mug stand and the K-cup holder. Your drip tray also falls in the list, so consider this component as well. Make use of warm soapy water for cleaning the parts, and then dry the parts.
- You may find coffee grinds around the K-cup holder. So make use of a sponge or any cloth(dry or dampened) for cleaning out the coffee grinds if present around the holder.
- Next check on the surface of the coffee machine, and then clean this portion using a dry cloth. Make sure that you check all the areas around the K-cup where the tea granules get collected.
- Finally, clean the needle of the coffee machine. This is the entry and exit point through which water flows and get mixed with the coffee beans to get the brewing started. Make use of a paperclip for doing this task, and get the dirt removed carefully.
- And the last step is to perform the descaling process of Keurig. This is one of the vital procedures of all, which falls under the cleaning task. The main aim of this process is to remove any mineral buildup formed in the interiors of the system.
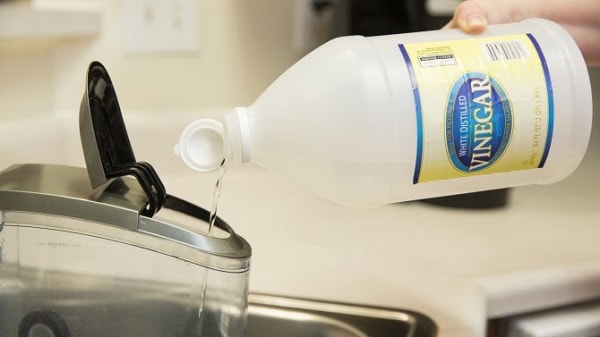
- To get started with the descaling process, you have to first fill the reservoir with around 10 ounces of white vinegar. Turn the brewing process on, without any K-cup in it, and keep the unit running as usual.
- Collect the water which passes through the coffee outlet, and then fill it in a mug. Repeat the same process for the second time. And after this, perform the same process with using just 10 ounces of water in it.

So, these are the complete steps which are to be performed for cleaning a Keurig machine. The last step of descaling is a must if you wish to get freshly brewed coffee the next morning.
One extra tip: make use of bottled or spring water for the rinsing purpose, instead of softened or any other distilled water.
Try out the steps explained here, and follow them in the same order as explained here. This was all about the Keurig Cleaning and maintenance ways. Have you got any other tip to add here? Then feel free to share it with us by commenting below. For regular updates from us, follow us on Coffeemakered.

Leave a Reply